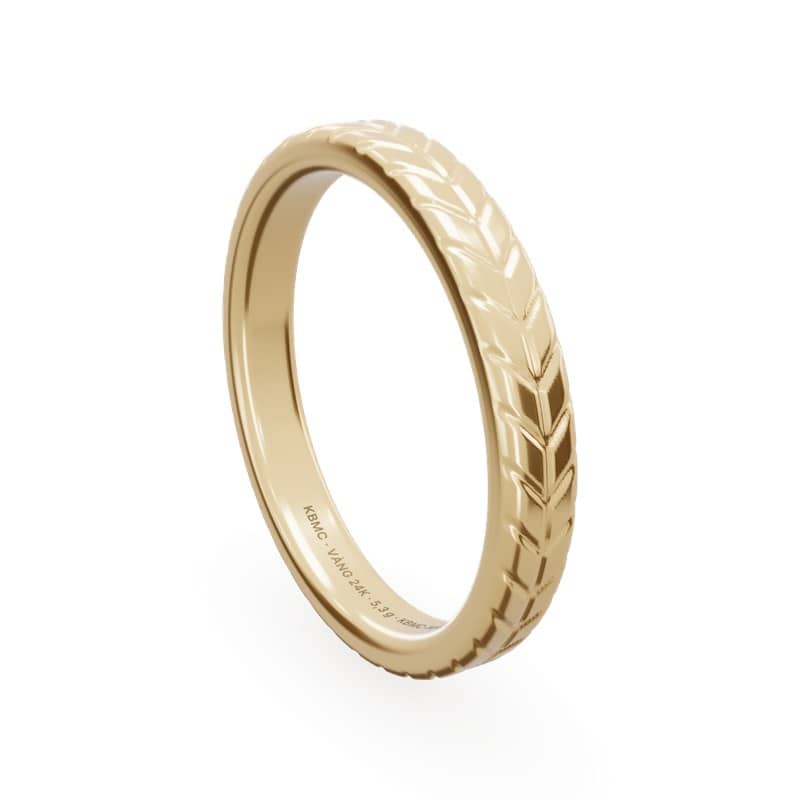
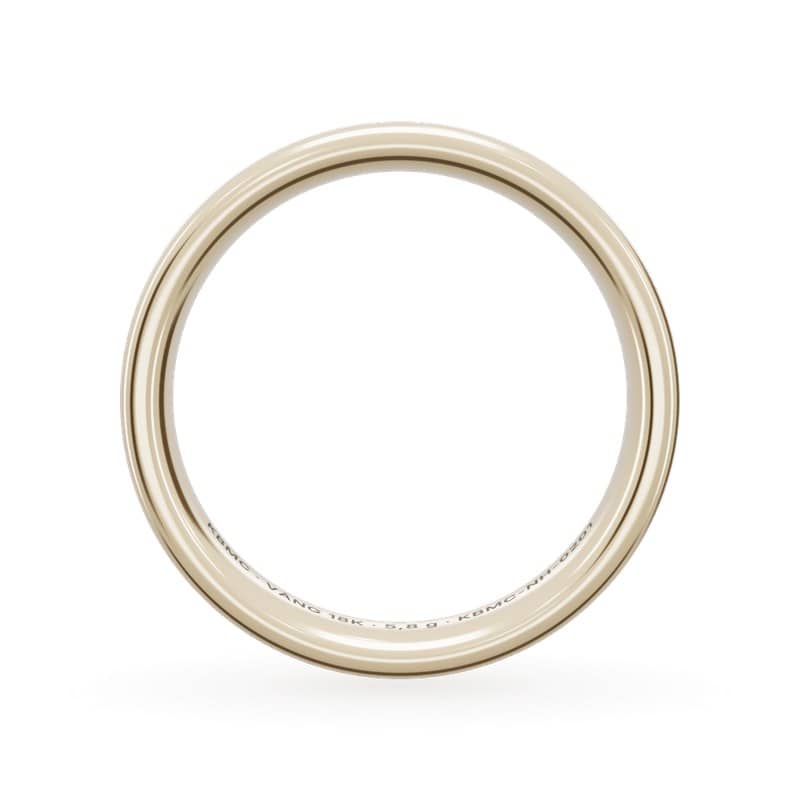
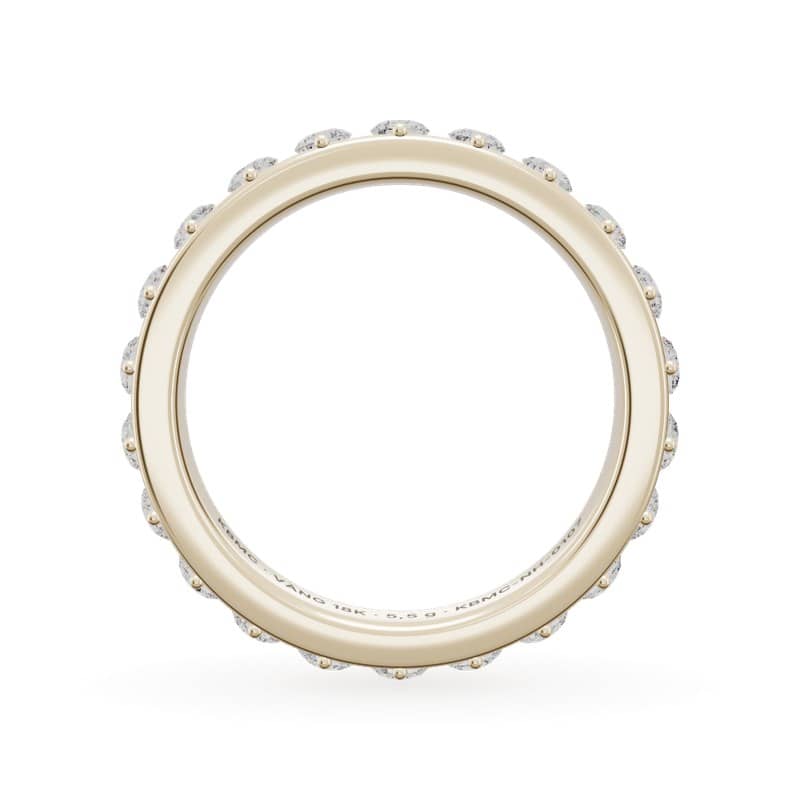
From 3D model to finished piece: six steps to make a ring
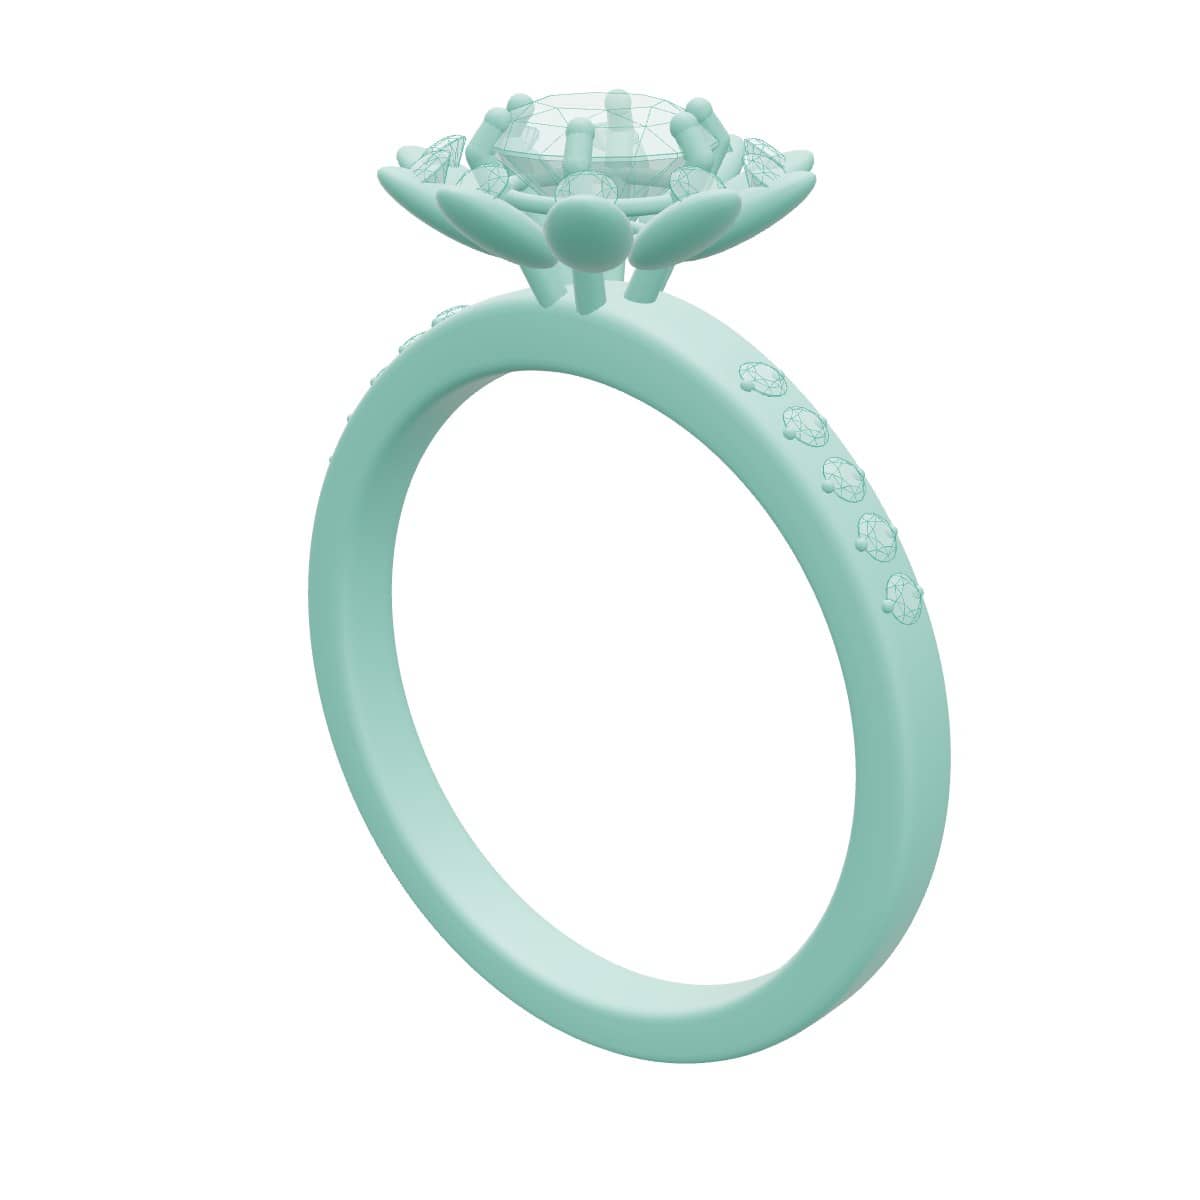
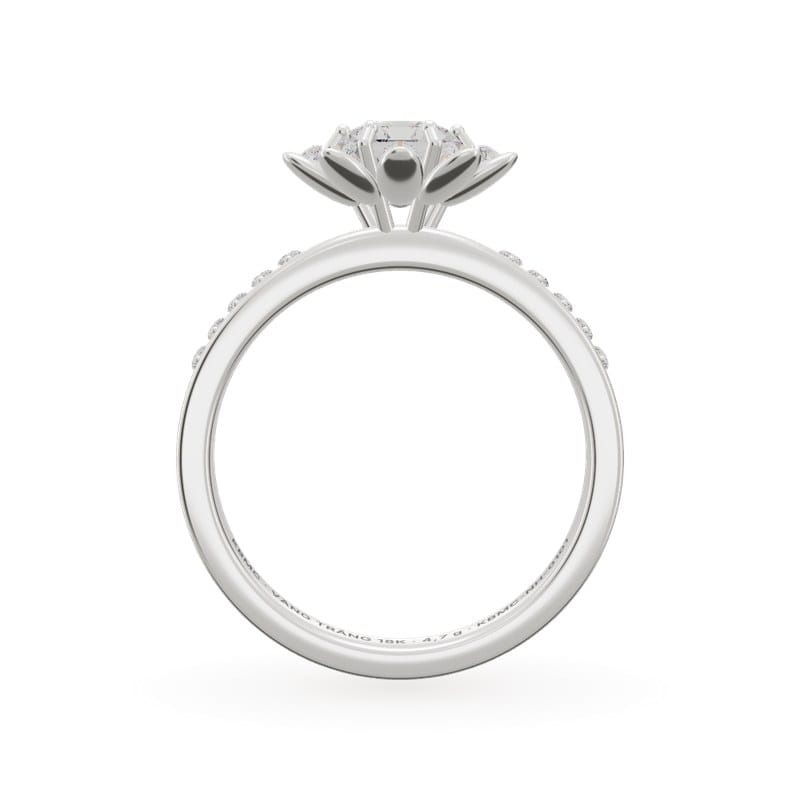
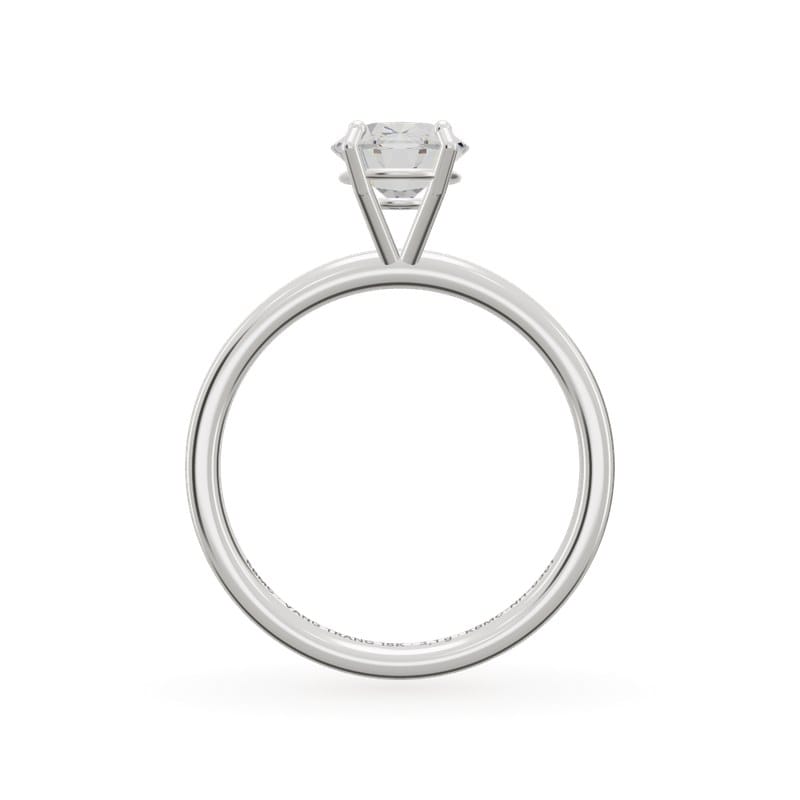
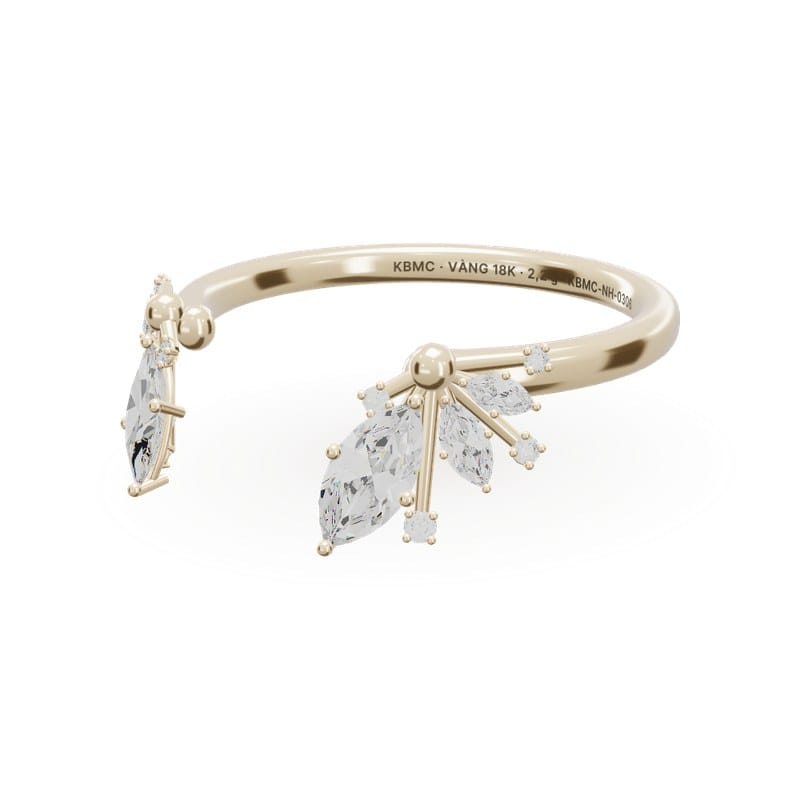
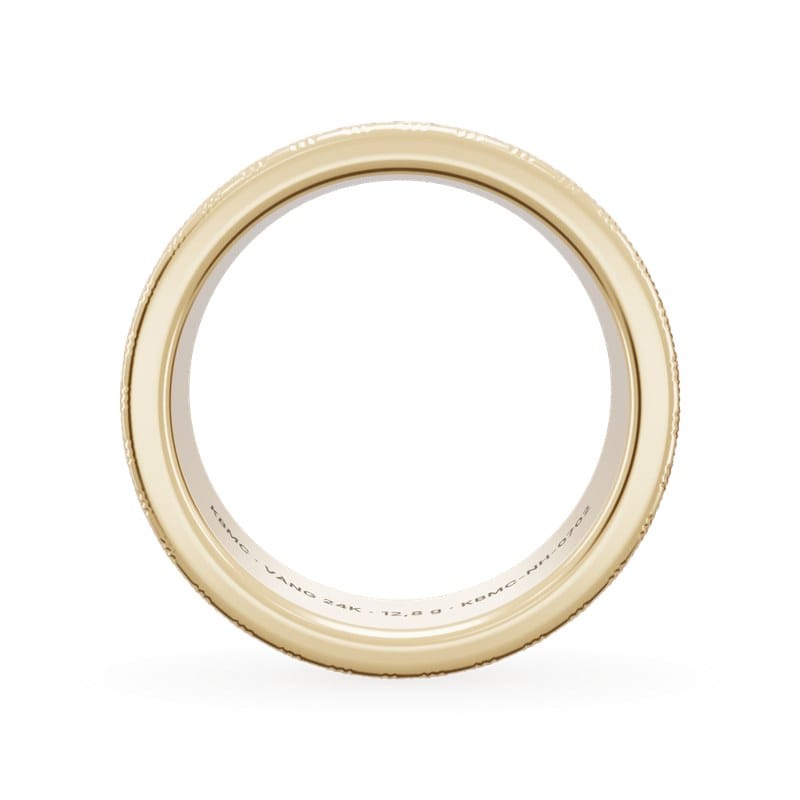
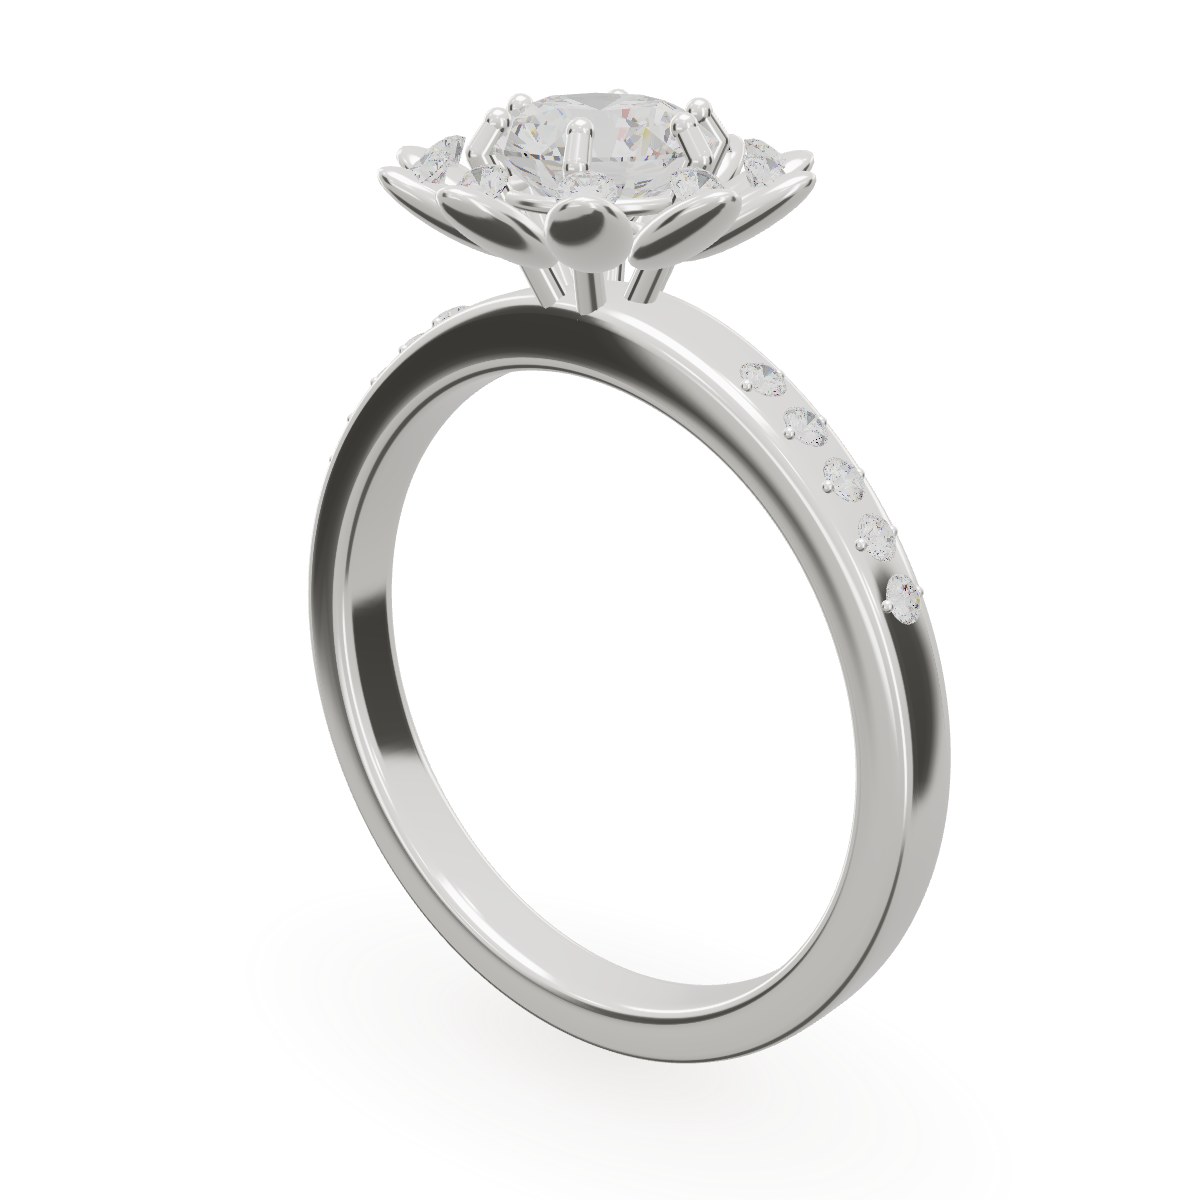
You rotate a ring in 3D on the website and see exactly the ring you will receive. That is possible because the 3D model is the technical drawing used to make it.
1. Design and 3D model
The designer builds the model to exact dimensions: band thickness, head height, every prong and stone. The model gives the metal volume, hence the estimated weight per metal shown on the product page.
2. Wax print, hand-finished
The model is printed in jade-green wax. A craftsman checks and hand-corrects fine details the printer missed.
3. Casting
The wax is encased in plaster, burnt out, and metal is poured into the cavity. Gold issued to craftsmen is weighed each shift; at shift end, finished pieces, sprue and filings are weighed back to reconcile.
4. Finishing and setting
The craftsman removes the sprue, smooths the piece and sets each stone. The centre diamond goes in last, with prongs checked under a loupe.
5. Polishing and plating
Polished in stages to a mirror finish. 18K white gold is rhodium-plated for a bright white.
6. Inspection and coding
- X-ray fluorescence purity test on every finished piece. Anything below stated purity cannot enter stock.
- Weighing, photography, stone check.
- Laser-engraving the item code and tagging. From here, every event in the ring's life is logged against its code.
Why this matters to you
The labour on the tag pays for these six steps. Knowing the process explains why two rings of equal weight carry different labour: the number of stones, the difficulty of the setting, the hours at the bench.
Try the Lotus ring in 3D.
Pieces in this article
 EXCLUSIVE
Lotus Ring
83,660,000 ₫
 NEW
Moonlight Ring
180,300,000 ₫
 NEW
Crane Wing Ring
30,460,000 ₫
 NEW
Red Thread Ring
55,790,000 ₫